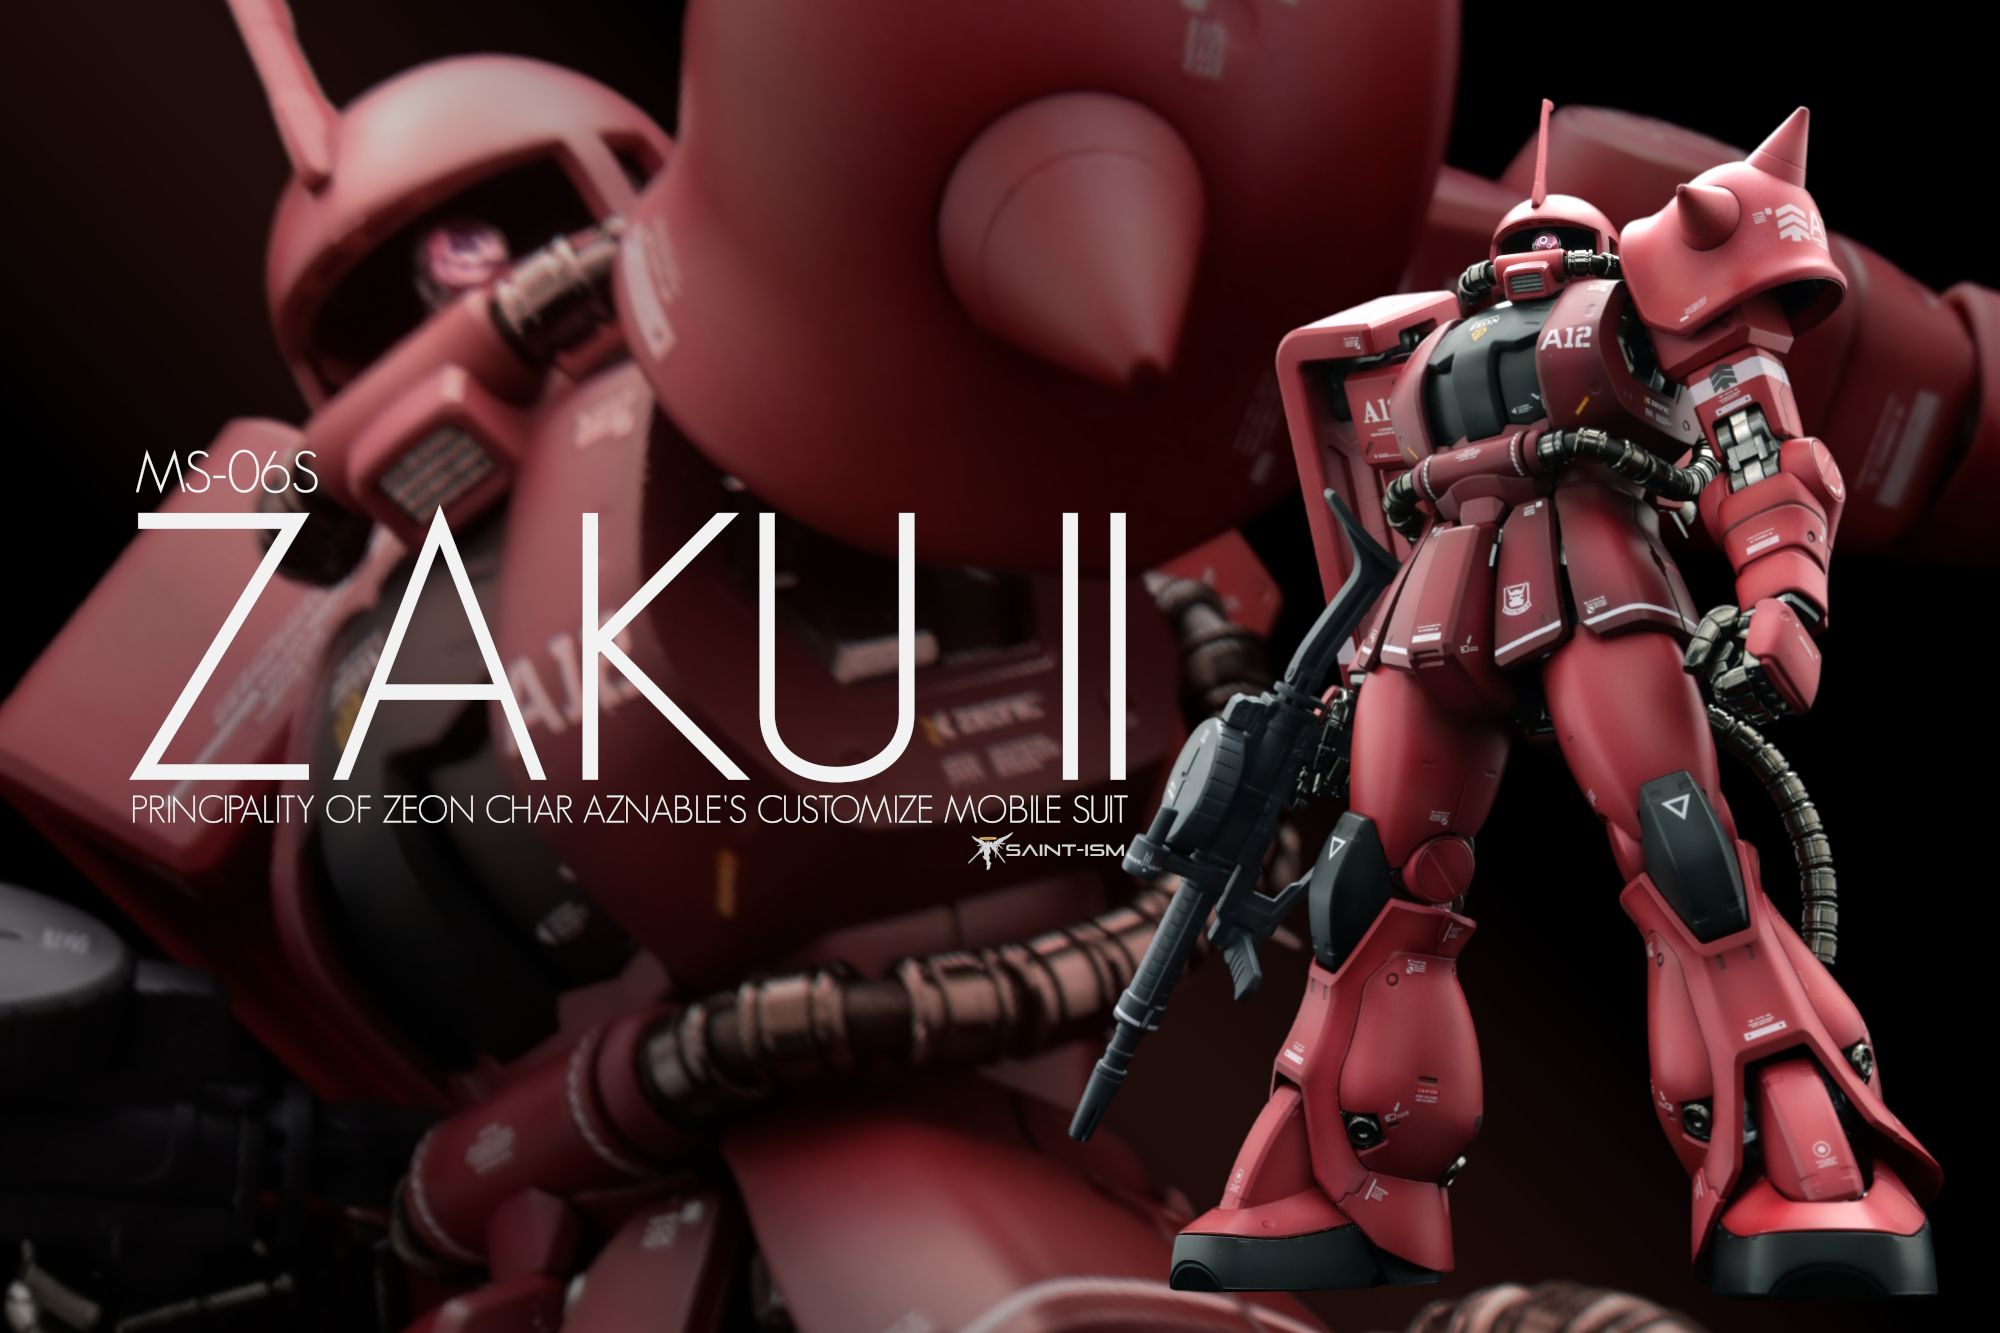
It’s been 9 years since I built the Char’s Zaku 2 and now I can finally check this off my “rebuild” list. I actually kind of forgot how awesome this kit was, back when MGs kinda had detailed inner frames. Total build time was about 30 hours and the last day of assembly was pretty hectic as I placed the decals on the backpack cover upside down, so I had to strip and redo that part in the space of an hour.
There are no seams on the kit, but there’s some pretty bad mold lines on the bazooka and machine gun. These were a real pain and is probably one of the reasons why I’m avoiding the Psyco Zaku for now.
I replaced the power pipes with CJ Hobby Metal parts, they simple slot over the premade plastic/rubber pipe that comes with the kit, but since all the beads are the same shape they don’t really turn the corners all that well. The anti-ship rifle is a 3rd party part that I bought from Samueldecal.
For the color scheme I decided to go with something that’s more like the Gundam The Origin instead of the more orangey-pink that the plastic color is by default.
Painting
If you’d like to see the whole painting process, please consider subscribing to my Patreon! The tier 2 gets you videos where I document the painting process and the video for this build is 3.5 hours.
Dark Red – White primer -> Mr Color UG22 MS-06S RED VER.ANIME COLOR + a bit of black preshade -> Starter White -> Cover with Mr Color UG22
“Pink” – White primer -> Mr Color UG22 + Mr Color UG10 Char’s pink (more UG22 than the pink) + tiny bit of Zeon MS Grey preshade -> Cover with UG22 + Char’s Pink (more UG22 than the pink) -> Add yellow and white for highlight -> cover with UG22 + Char’s pink -> postshade with UG22
Black – Grey primer -> Mr Color GX Ueno Black base coat – > highlight with Phantom Grey + Zeon MS Grey + tiny bit of Red Cocoa Brown -> postshade with GX Black.
Backpack Red – White primer -> Red Cocoa Brown preshade -> Yellow pre-highlight -> Mr Color GX Harmann Red + Shine Red to cover -> Yellow highlight again -> cover with the red combo again
After doing it this method, I think it can be simplified to preshade -> cover all with red -> yellow highlight and then cover with red again.
Weapon grey – Grey primer -> Phantom Grey base coat -> highlight with Zeon MS Grey + bit of Yuupa white -> postshade blend with Phantom Grey
Metallic – Starbright Iron, Starbright Duralumin (elbows, knee joints), SMS Stainless Steel over Gloss black (thruster bells, hands)


