This is build no.9 for 2024! This was voted for all the way in Jan 2023(!) and the build was not quite as simple as I was hoping for. As is par for the Kotobukiya course, there’s a ton of seamlines:
- the entire leg has a seam down the middle down to the feet, although mercifully the thighs have parts separation for the belt
- Shoulders
- every single finger on the mecha suit has a seam offset to the side
- the arms on the power suit
- The SMGs and Bazookas
- The pistons on the back of back of the power suit
There’s also a ton of details that need to be painted in if you want it to be box accurate, most notable is the belts on her lower thigh but there are countless more on the mecha suit itself which I’m not going to list.
All of this left me quite demotivated and lead to me procrastinating this build for 15 months while easier and more interesting builds passed it by. I ended up half assing this build by usual standards, there’s quite alot of seams left untreated plus mold lines which I didn’t bother to remove.
Review
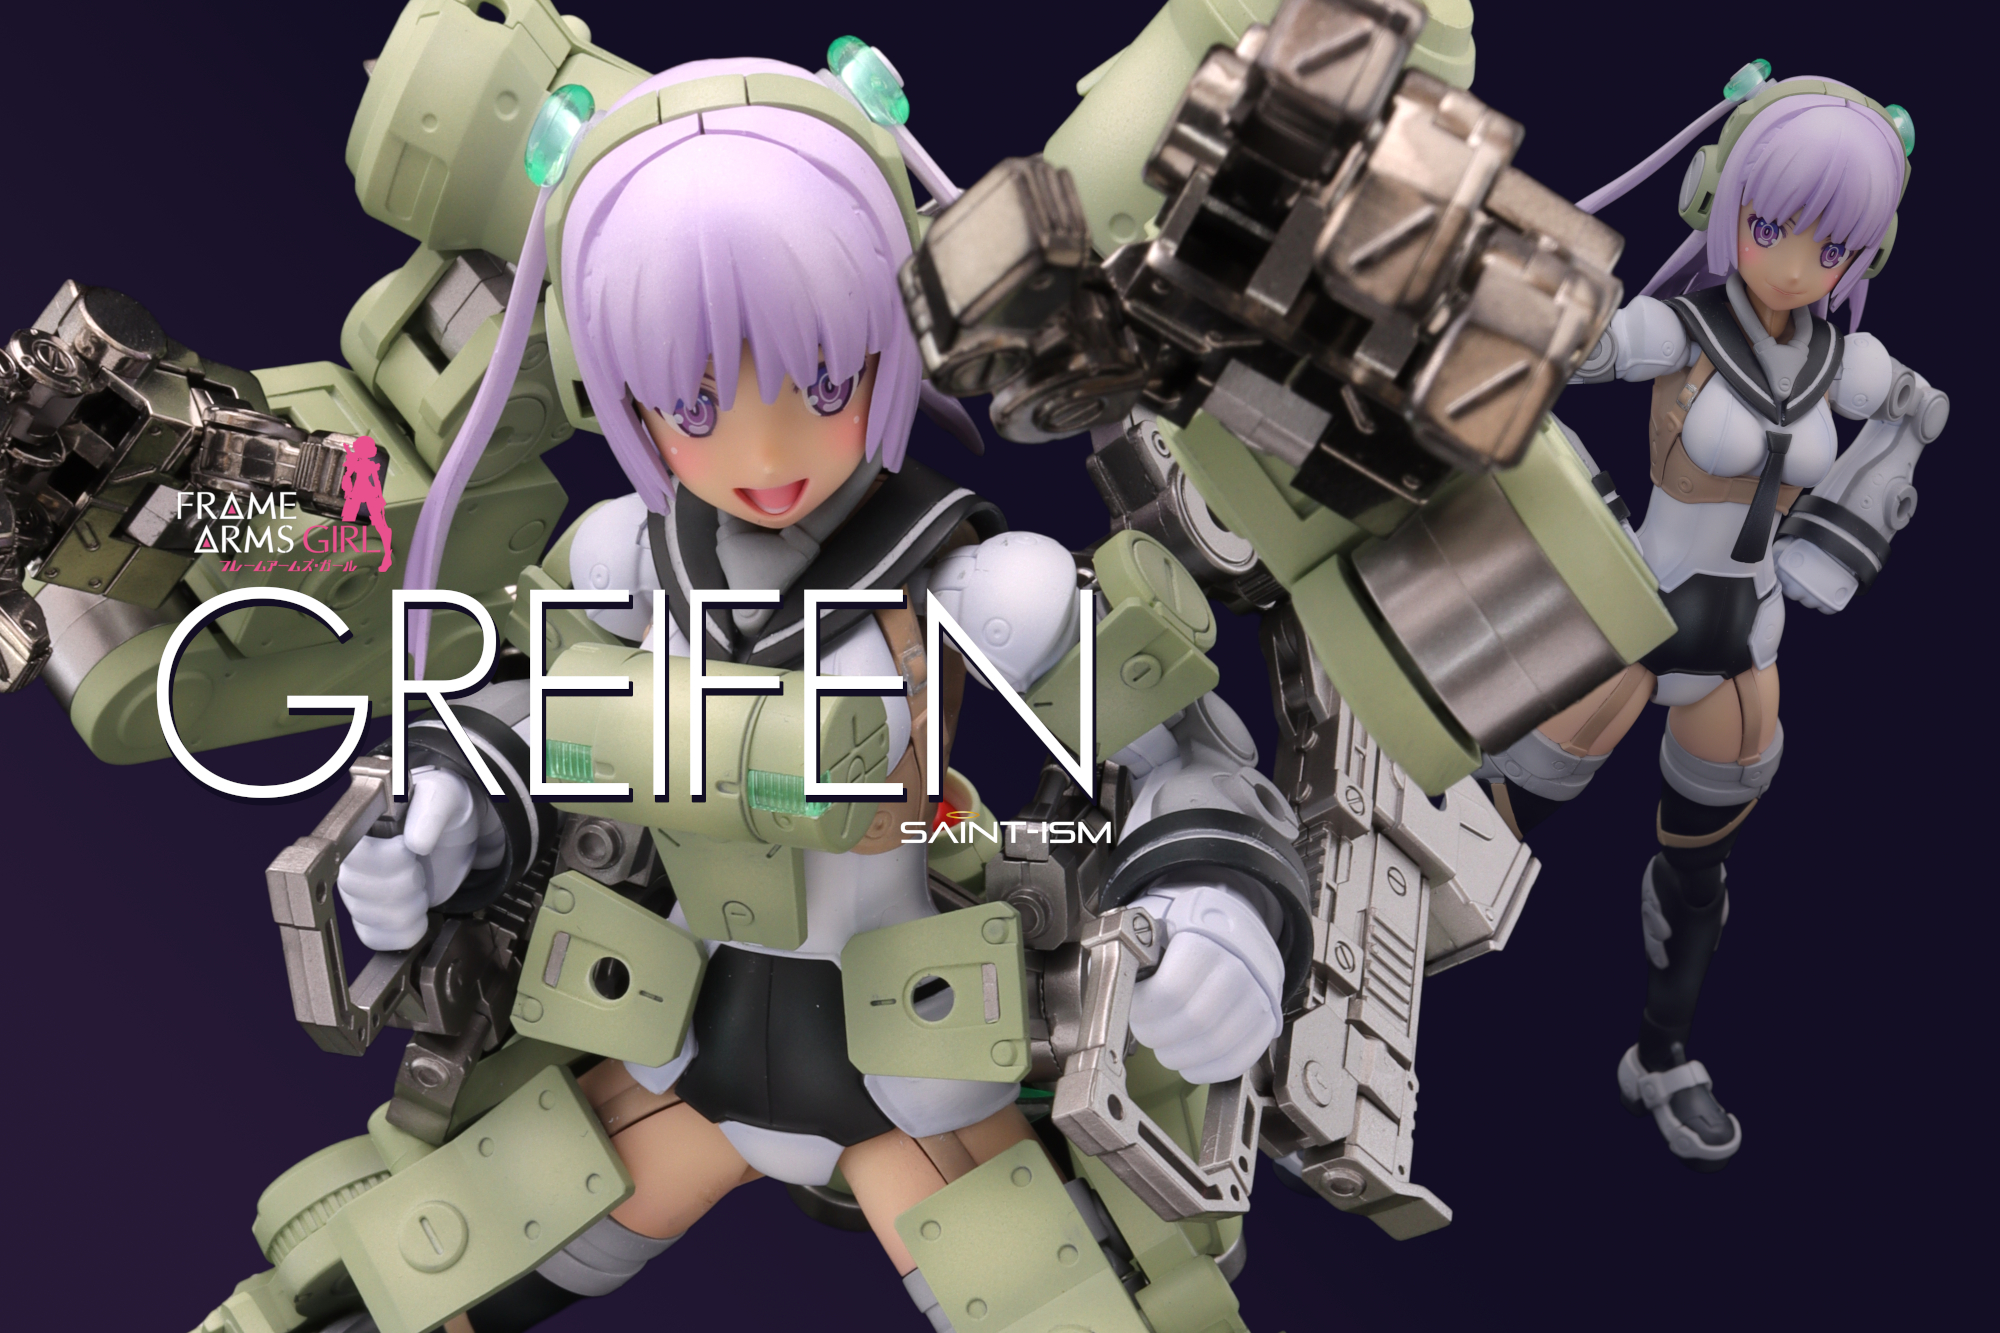
The “girl in a power armor” feels like a under-explored concept and I really liked the design of it when I first picked up the kit. The power suit is pretty sturdy and attaches to the girl via the hard points on her waist and legs, and I found putting everything on was a nighmarish experience, with the hands popping off constantly.
After putting the girl into the power armor, I found the joints were pretty tight, probably due to my overpainting the joints. Still, the kit managed to make it through the photoshoot without breaking, though I found the hips of the girl got pretty loose at the end.
Painting
The white stripes on her cuffs and collar were painted using reverse wash with white enamel paint.
Flesh tone – I originally painted the skin tones on the thighs but after assembly they got absolutely massacred. I ended up sanding them down to the bare plastic and opted to post-shade the shadows on using some Yuupa White + bit of Orange + bit of Shine Red + bit of Purple.
Navy Blue – Mr Color Navy Blue -> add Yuupa White highlight -> postshade blend with Navy Blue
Light Blue – White primer -> GX White + Azure Blue preshade -> GX White highlight and cover
Hair purple – White primer -> Mr Color Lascivus Lilac preshade in shadowy areas -> cover with opacity method
Grey – Mr Color 306 base coat -> add white for highlight
Brown – Mr Color Light Brown + Hull Red
Armor Green – White primer -> MS Zaku Green preshade -> light cover with MS Zaku Green (opacity method)
Metallic (hands) – Gloss black base coat -> SMS Hyperchrome warm
Metallic – Mr Super Metallic 2 Super Iron


