Last episode I’d just finished Windexing the blue parts and prepping the internals for painting. This time I’m going to finish painting all the parts!
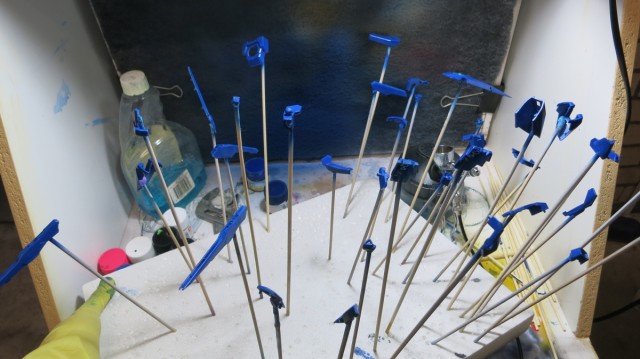
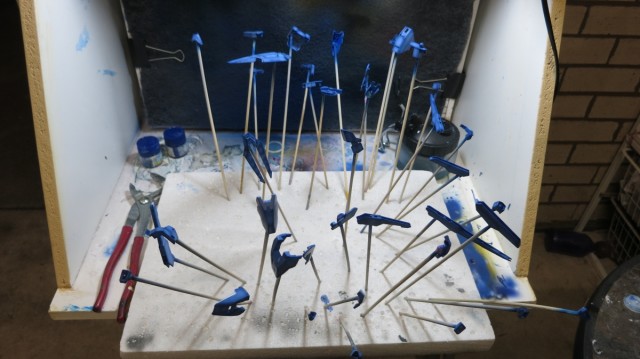
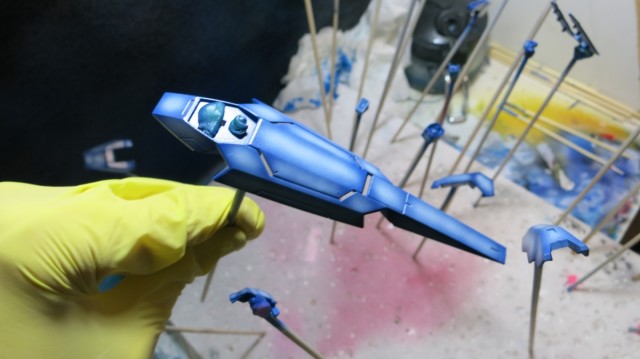
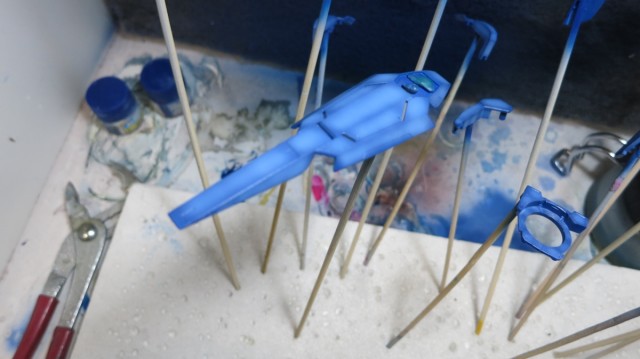
So here’s the blue parts again. I’m starting with a base coat of Gunze Blue.
I’m trying out something new and applying the starter white technique on the parts. This involves pre-shading over with white.
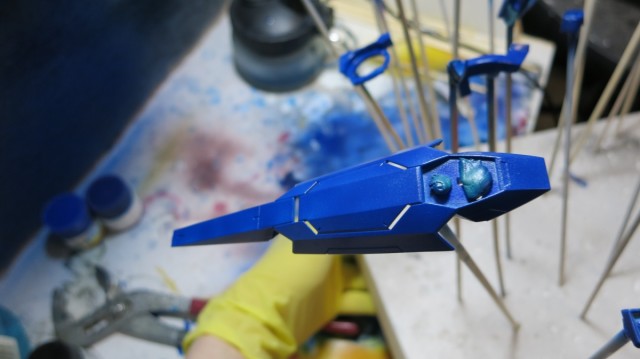
After the white is applied, a light coat of Cobalt Blue + Sky Blue + Bright Blue + Fluro pink is sprayed over. Finally quite a fair bit of white is added to the mixture and sprayed in the centre for highlights.
Again I kinda didn’t put enough Cobalt Blue again but I’m happy with the result this time.
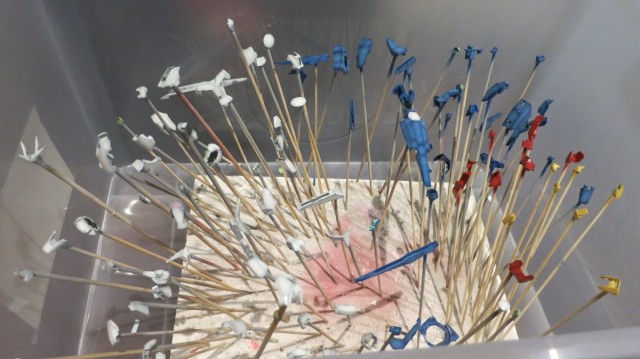
All the coloured parts painted! The red was done using the same starter white technique. I used Red Madder + Black as a base coat, then sprayed Red Madder over the top, and finally added white for highlights. Yellow parts using the same tech as well, but with Orange Yellow and Yellow.
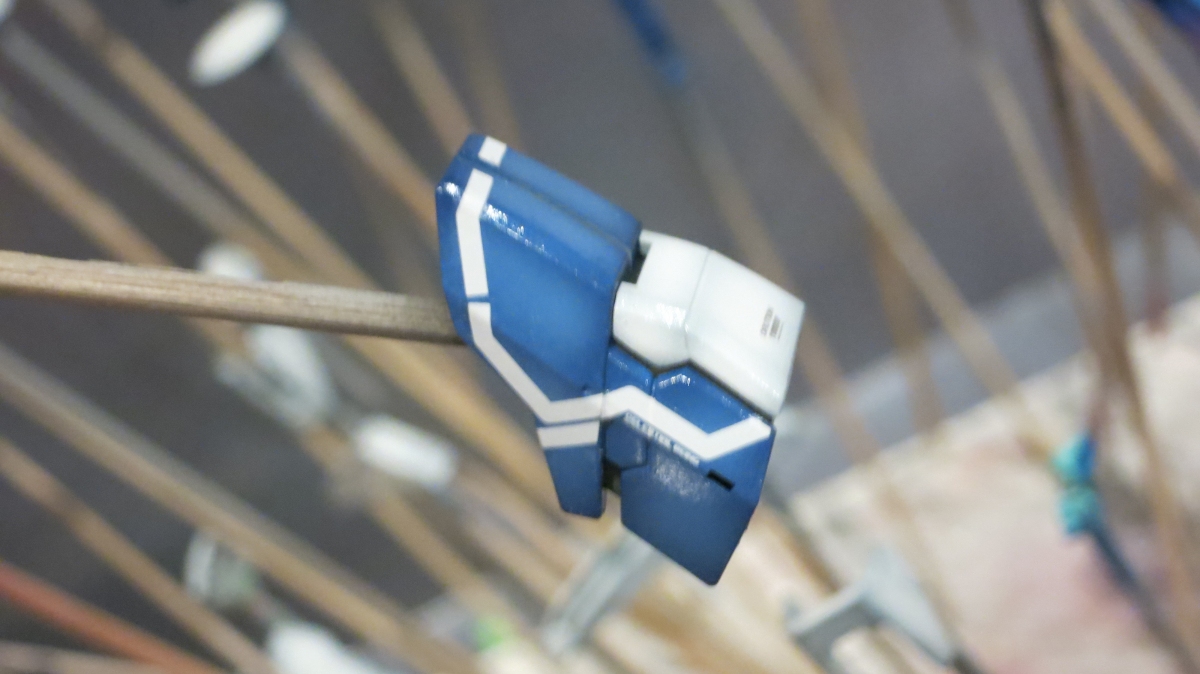
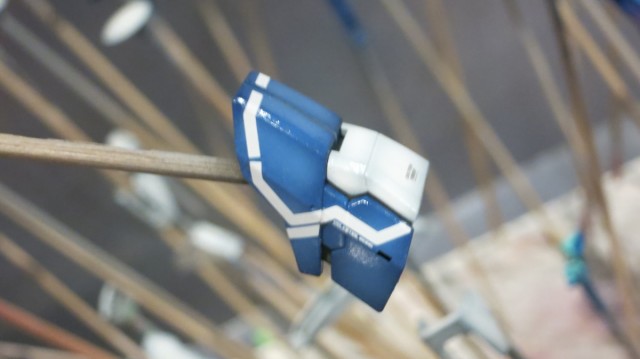
I’ve started to apply decals as well. I messed up this shoulder decal, the alignment is off but luckily it still looks legit 😛
Also note how lighting can make a huge difference, this is the same blue under a 2500K light, it looks so much duller than under natural light or a 6500K globe!
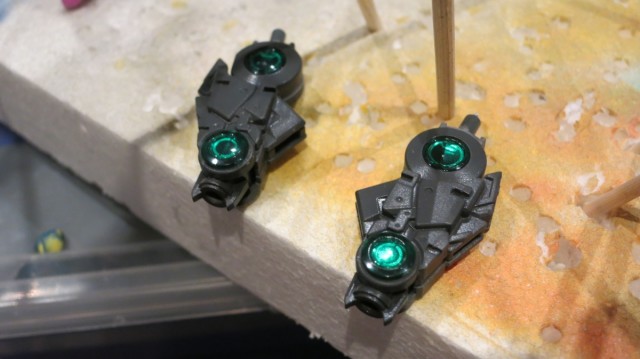
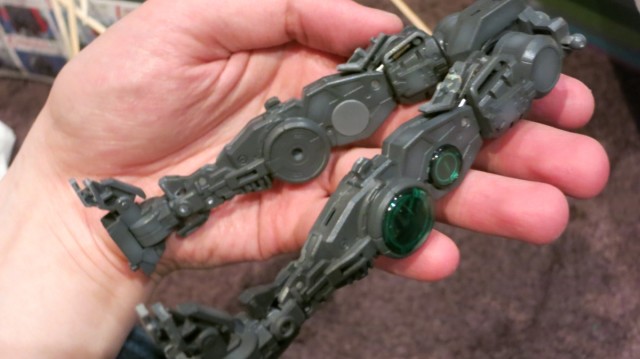
Internals were done using a Neutral Gray + Black coat, then highlights were done using Gray FS. Some parts like that light gray circle was done using straight Gray FS, for kinda of a two tone scheme. Maybe I should’ve preshaded it too though 🙁
Finally here is the lower torso and leg internals built. You might note I’ve only preshaded the parts which are actually visible and not the entire frame.
So hopefully this will be the last WIP before I finish the kit, I’m currently aiming for the end of the week but with Xbox One launching on Friday I might be sidetracked a bit.


