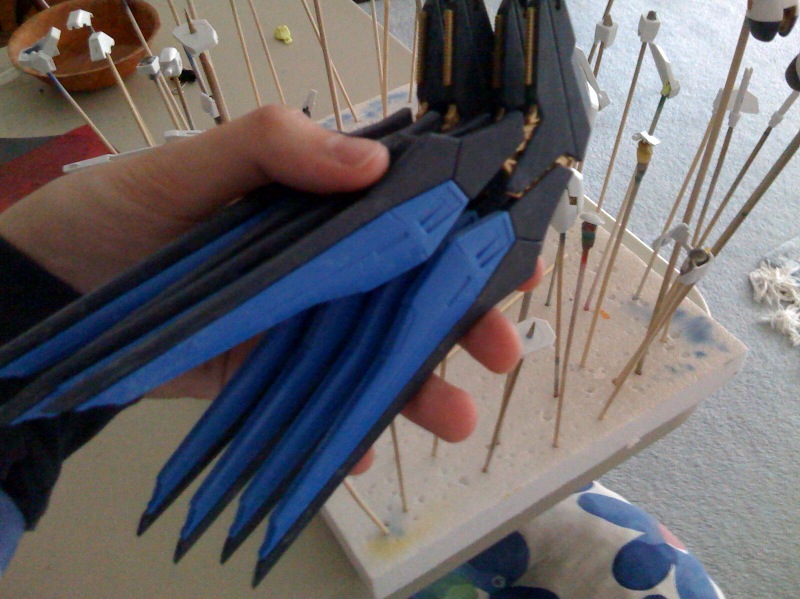
Very slow progress on this kit. Been almost a month since I opened the box and started cutting stuff up, and I haven’t even painted (well airbrushed) anything yet. But this weekend I actually managed to get the wings assembled at least.
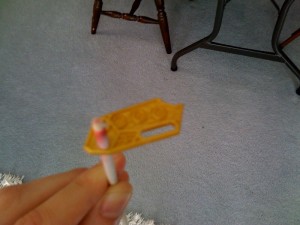
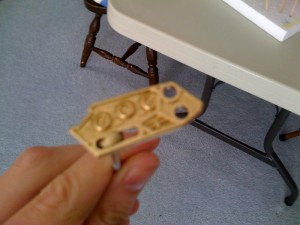
As per my lineart, the wing internals will be gold still. I used Tamiya Gold spray, since I’m lazy, and I don’t think acryllic gold looks as nice when airbrushed on.
Gold part before and after spraying with Tamiya Gold
The ‘gold’ parts that come with the normal MG Strike Freedom are a kinda mustardy colour. Not nice to look at. If you’re not planning to paint your Strike Freedom, I recommend at least spraying these parts gold, as it’s pretty easy and impossible to screw up. Not to mention you’ll get a nice finish which is on par with the Full Burst Mode version.

These wings are the bane of any modeller I swear. 7 seams to clean on each wing, and there’s 4 of them. All the gluing, sanding and puttying took about 5 hours alone. One of the wings ended up having a dodgy build and doesn’t open as well as the other one.
I’ll paint these later, but I’ll need to mask off the gold parts first.
30/08/2009 Update:
White parts painted. This took a whopping 5 hours, 1 for the black coat and then 2 for each of the white+navy blue and white highlight layer. Also as usual, I lost a part, one of the rear leg vents.
I also started masking the wings. Using Tamiya masking tape as well as blue tack for this. It’s an extremely slow process.


Hi, was wondering how you modded the beam riffles for seperate painting.
I am now working on this kit. and which paint did u use?
@HJ
I used Gunze Mr Hobby water based paints.
As for the beam rifles, nothing special, I just masked the white part off then painted the blue highlights.
Hello may i ask how you spray paint it?also how thick should the paint be?will the paint eat into the plastic?you use can spray or airbrush?
@xianxun
1) I use an airbrush.
2) Depends on whether you hand paint or airbrush, but generally, the consistency of milk is what you’re looking for.
3) Hobby-type paints usually will not eat (destroy) plastic.
4) Airbrush.